Creating a dedicated CRT game room is one of the most rewarding projects you can undertake as a retro gamer. A well-designed CRT game room transforms ordinary gaming into something truly special – authentic phosphor glow, perfect scanlines, deep blacks, zero input lag, and that unmistakable nostalgic atmosphere that modern displays simply cannot replicate.
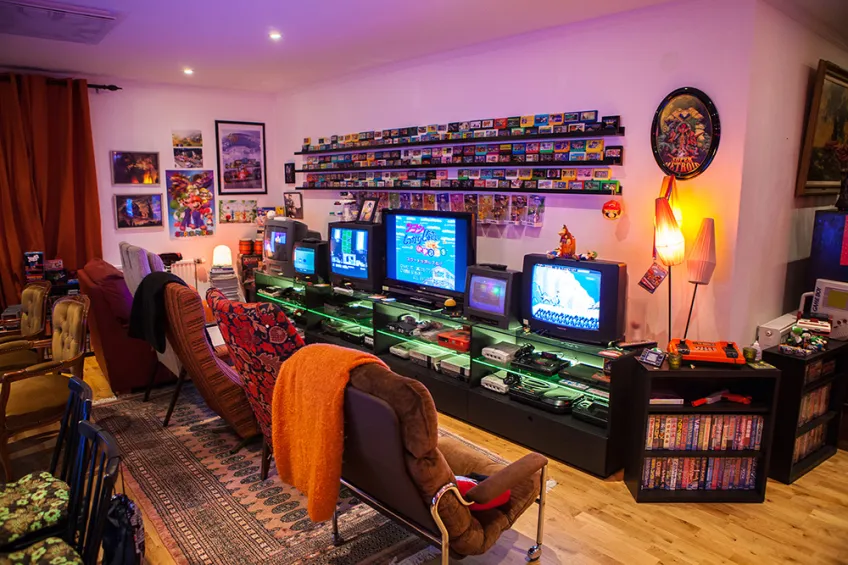
Whether you have a spare bedroom, a corner of your living room, or an entire basement, building a proper CRT game room will dramatically improve your enjoyment and make every gaming session feel like stepping back into the 90s.
In this comprehensive, up-to-date guide for 2026, I share everything I’ve learned from building multiple CRT game rooms – including planning, equipment choices, setup steps, calibration, advanced upgrades, and long-term maintenance.
Why Building a Dedicated CRT Game Room Is Worth It in 2026
Modern gaming setups are impressive with 4K, high refresh rates, and HDR. However, for classic games from the 8-bit, 16-bit, and early 32-bit eras, nothing beats a real CRT. A thoughtfully built CRT game room gives you:
- Perfect motion clarity with zero input lag
- Authentic color reproduction and that beautiful phosphor glow
- Natural scanlines that make pixel art look incredible
- Deep, inky blacks that feel cinematic
- The emotional “I’m back in the golden age” feeling
Many retro gamers report playing significantly more hours once they have a proper CRT game room because the experience is so much more immersive and enjoyable.
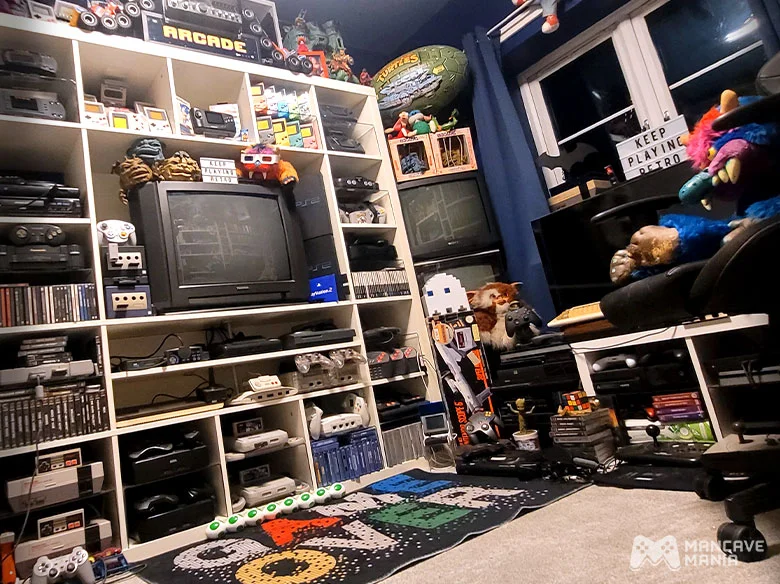
1. Planning Your CRT Game Room Layout
The foundation of any great CRT game room is careful planning.
Choosing the Right Space
- Spare bedroom
- Basement or game room
- Large living room corner
- Dedicated alcove
Lighting Design for Your CRT Game Room
Lighting is critical. Direct sunlight is the enemy of CRTs – it washes out colors and kills the glow. The best CRT game rooms have controllable lighting. Many enthusiasts use blackout curtains during the day and install bias lighting (soft LED strips behind the CRT) for evening sessions. Bias lighting is one of the highest-impact upgrades you can make – it makes blacks deeper, reduces eye strain, and gives the entire CRT game room a premium, immersive feel.
Ventilation and Heat Management
CRTs generate heat. Plan for good airflow around your CRTs. Leave 15–20 cm of space behind and on the sides. Never put a CRT in a closed cabinet.
Seating and Comfort
Comfort matters for long sessions. Consider a good gaming chair or comfortable couch positioned at the right distance (1.5–2.5 meters from a 20–27 inch CRT).
Atmosphere and Decoration
This is where your CRT game room becomes special. Add:
- Retro posters and game boxes
- Shelves for game collections
- LED strips for mood lighting
- 90s memorabilia
2. Essential Equipment for Your CRT Game Room
Core Items
- One or more CRT TVs/monitors (20–27 inch is ideal for most setups)
- High-quality RGB SCART or Component cables
- Surge-protected power strips
- Your Consoles of course!
Strongly Recommended
- Mechanical AV switch for easy console swapping
- Controller extension cables
- Cable management system (velcro ties, sleeves, labels)
- Bias lighting kit
Advanced Upgrades
- External speakers or soundbar
- HDMI to RGB converter (for newer consoles)
- Power conditioner
I’ll explain the role of each item in detail as we go through the setup process.
3. Step-by-Step Physical Setup of Your CRT Game Room
Now that your space is planned and you have all the equipment ready, it’s time to bring your CRT game room to life. Follow this sequence for the smoothest setup experience.
- Position Your CRT(s) Place each CRT on a sturdy, level surface that can safely support its weight. Make sure it’s stable and at the correct height for comfortable viewing.
- Connect All Cables First Before turning on anything, connect every cable (video, power, controller extensions, etc.). This prevents power surges and makes troubleshooting much easier later.
- Organize Cable Management This is one of the most important steps for a clean, professional-looking CRT game room. Take time to neatly route cables along the back or under shelves using velcro ties, cable sleeves, and labels. Good cable management not only looks great but also reduces signal interference and makes swapping consoles quick and easy.
- Power Everything Up Safely Plug all devices into a quality surge-protected power strip. CRTs can draw quite a bit of power, especially when running multiple consoles at once.
- Initial Power-On Sequence Always turn on your CRT(s) first and let them warm up for 2–3 minutes. This allows the tubes to stabilize. Only then turn on your console(s). This order helps prevent issues and gives you the best first impression of your new CRT game room.
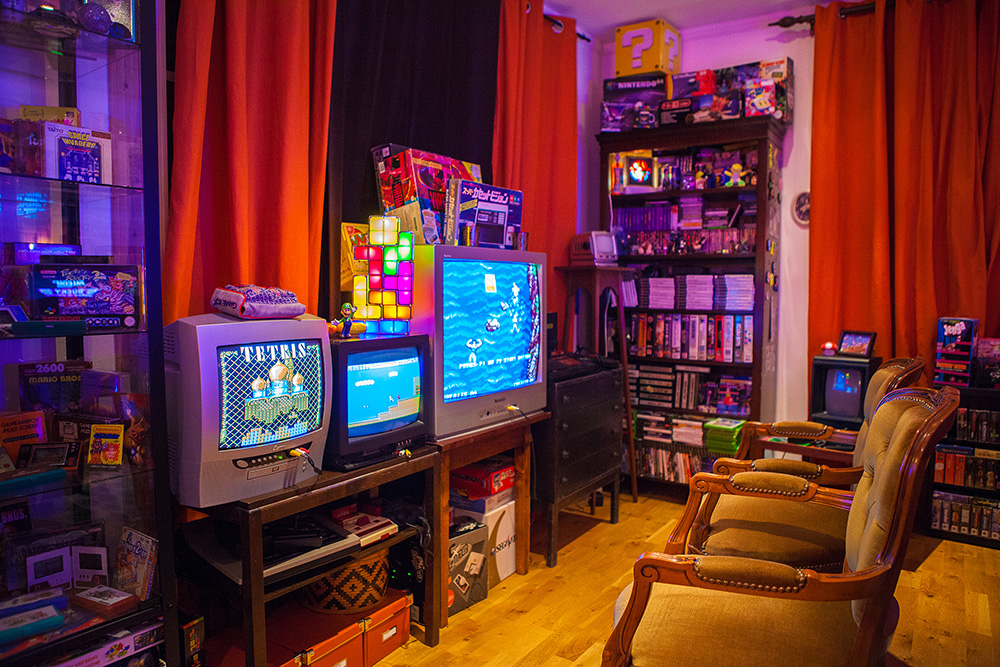
4. Calibrating Your CRTs – The Most Important Part of Any CRT Game Room
No CRT game room is complete without proper CRT calibration. This step turns a mediocre picture into something magical. Follow our guide here.
Recommended Tools:
- 240p Test Suite (the gold standard)
- Games you know well (Sonic, Mario, Chrono Trigger, etc.)
Calibration Process:
- Geometry Adjustments – Fix size, position, pincushion, trapezoid, and rotation using the Grid and Scroll Test.
- Brightness & Contrast – Set so blacks are truly black without crushing detail.
- Color Balance – Use color bars to make skin tones and primary colors look natural.
- Sharpness – Usually keep it low to medium so dithering in old games blends nicely instead of looking noisy.
Take your time with calibration. Many people spend an entire evening fine-tuning their CRT Screen and it’s completely worth it.
5. Advanced Techniques to Level Up Your CRT Game Room
- RGB Modded Consoles – One of the biggest visual upgrades you can make.
- Bias Lighting – Transforms the feel of the entire room.
- Multiple Console Setup – Use a high-quality mechanical AV switch for easy swapping.
- Audio Upgrades – Add external speakers or a soundbar because built-in CRT speakers are usually weak.
- Themed Decoration – Posters, game boxes, neon signs, and shelves full of cartridges make your CRT game room feel alive.
6. Common Mistakes to Avoid When Building a CRT Game Room
- Using cheap cables that cause ghosting or poor colors
- Poor ventilation leading to overheating
- Skipping proper calibration
- Bad cable routing causing interference
- Placing the CRT in a bright room
- Buying a CRT online and having it shipped (high damage risk)
7. Long-Term Maintenance for Your CRT Game Room
- Degauss the CRTs every few months
- Clean the screen gently with a microfiber cloth
- Check all connections periodically
- Re-calibrate every 3–6 months as CRTs naturally drift
- Dust vents and internals occasionally
- Monitor for burn-in on older sets
8. Inspiration: Different Styles of CRT Game Rooms
- Minimalist modern-retro hybrid
- Full 90s nostalgia room
- Arcade-style setup
- Small apartment CRT corner
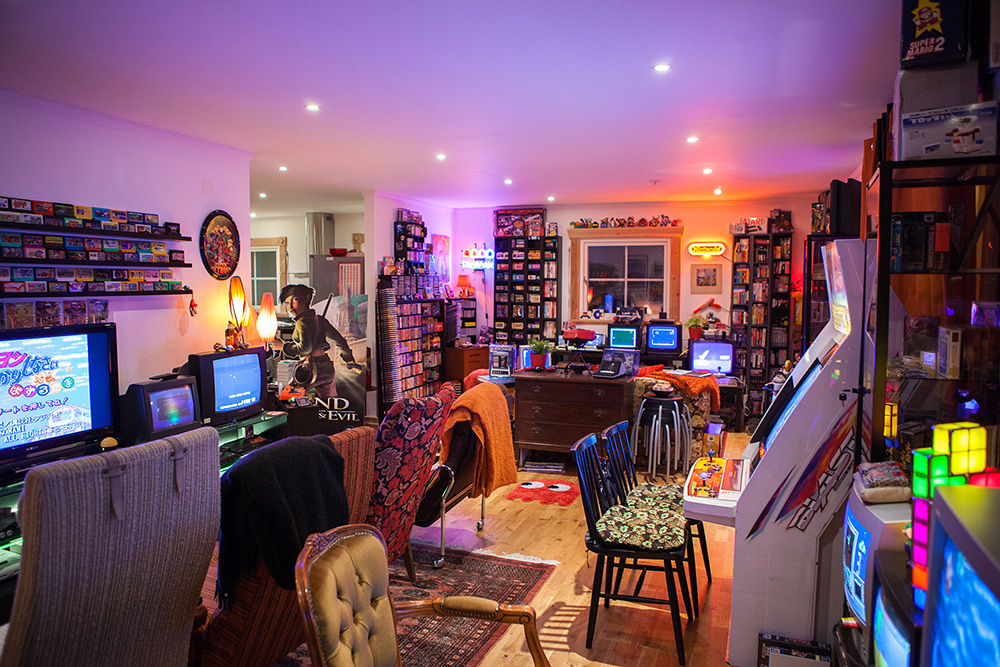
A great CRT game room is personal – make it reflect your style and tastes.
Final Thoughts
Building a CRT game room is more than just setting up a TV. It’s about creating a space where you can fully enjoy retro gaming the way it was meant to be experienced. Take your time, enjoy the process, and upgrade gradually. Once everything is dialed in, you’ll have one of the best gaming setups possible in 2026.
