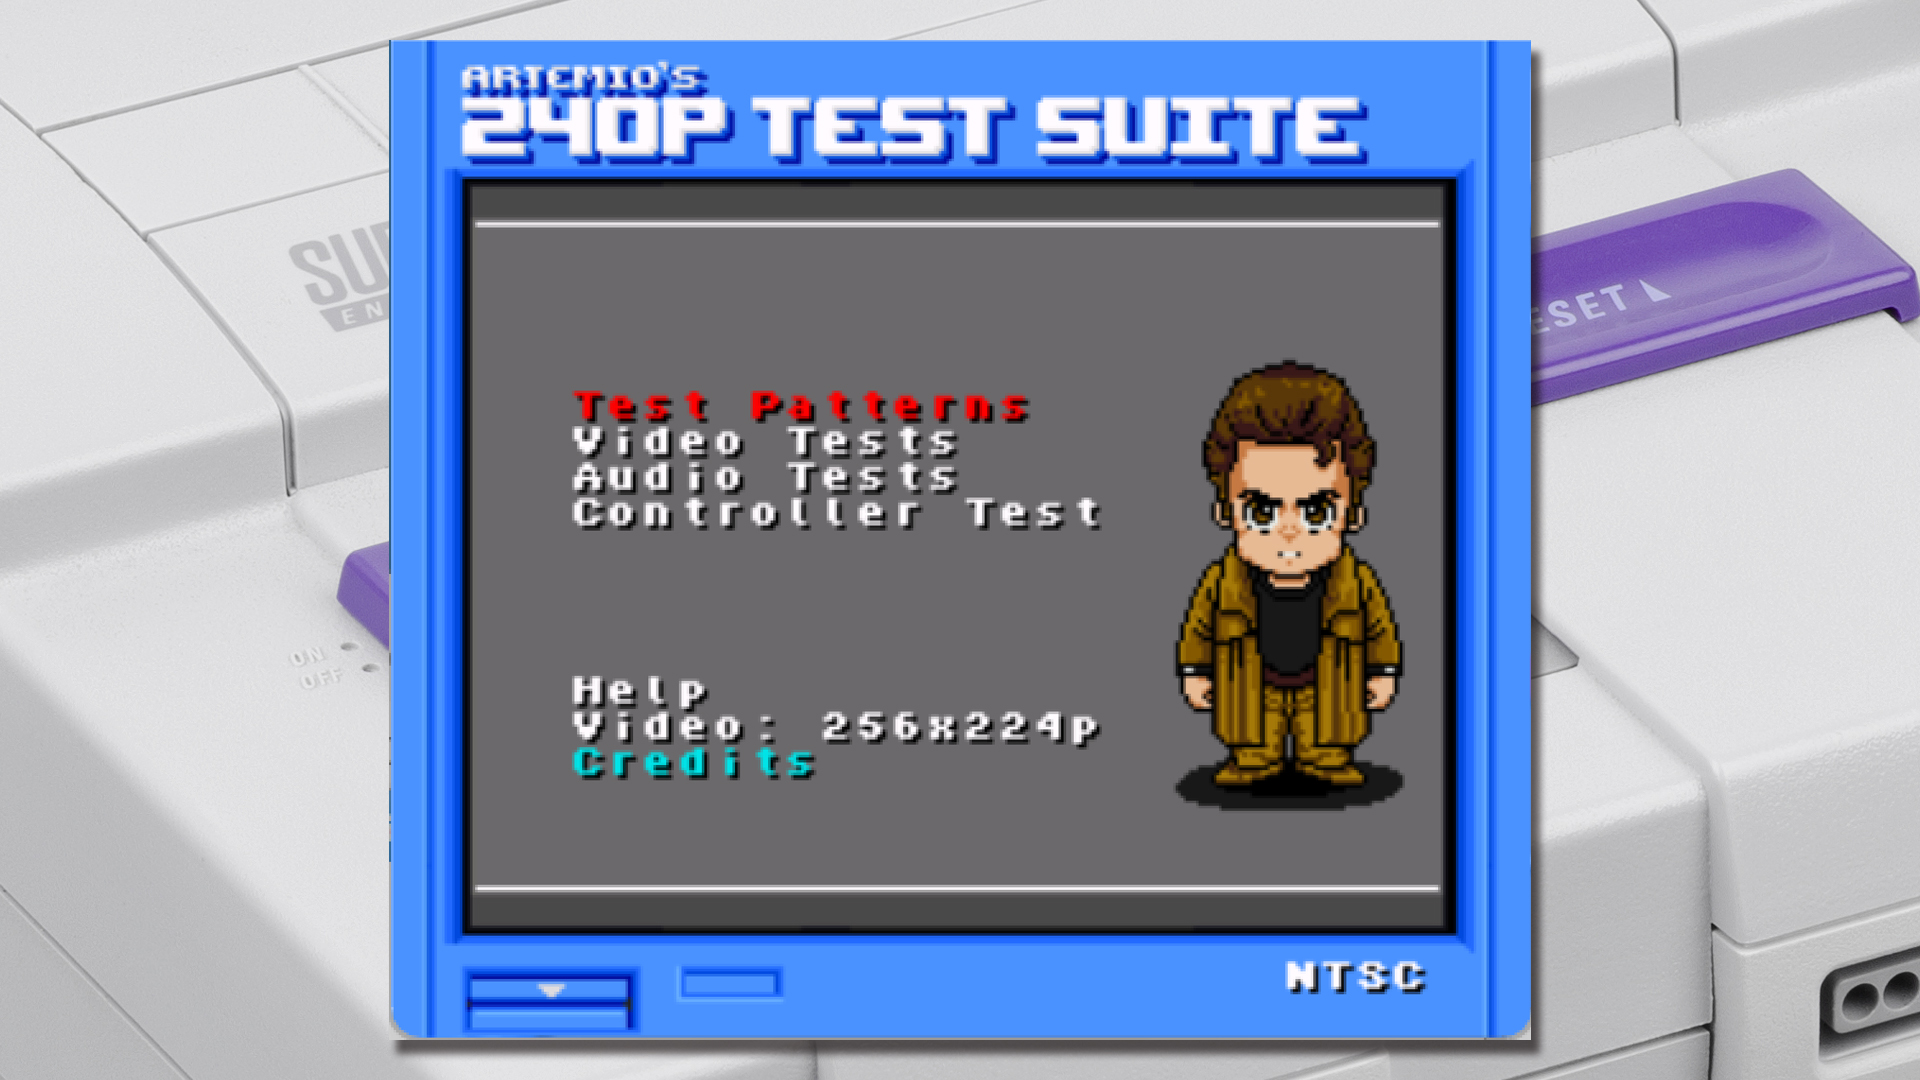
A properly calibrated CRT transforms retro games from “pretty good” to absolutely magical. The difference in sharpness, color, and overall feel is night and day. This in-depth how to calibrate a CRT guide covers everything from basic adjustments to advanced techniques, including the powerful 240p Test Suite.
Why Calibration Matters So Much
CRTs are raw analog displays. Unlike modern TVs with auto-settings, they require manual tuning to look their best. Poor calibration leads to warped geometry, washed-out colors, and bad dithering. Good calibration brings back the authentic 90s arcade and console experience. So knowing how to Calibrate a CRT is an very usefull skill!
Essential Tool: The 240p Test Suite
Before you start any calibration, download the 240p Test Suite (free). It is the single most useful tool for CRT calibration and learning how to Calibrate a CRT in the retro community.
Download link: https://artemiourbina.itch.io/240p-test-suite
How to use it:
- Run it on your console (available for many systems – easiest on Wii, PSP, or original hardware via EverDrive/SD card)
- It contains perfect test patterns for geometry, color, sharpness, and convergence
Many experienced retro gamers consider the 240p Test Suite essential – use it as your main reference during calibration.
What You’ll Need
- Your console and games
- Good quality cables (preferably RGB or Component)
- A bright room or dark room (both useful for different adjustments)
- Screwdriver set (for physical adjustments)
- Patience
Step 1: Geometry Calibration (Shape & Alignment)
Geometry is the foundation of a good picture.
Key adjustments:
- Horizontal & Vertical Size – Make circles round, not stretched
- Position – Center the image perfectly
- Pincushion, Trapezoid, Rotation – Straighten curved or tilted edges
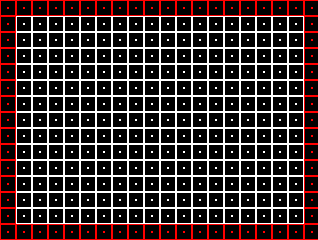
Using 240p Test Suite: Use the “Grid” and “Linearity” patterns. Adjust until lines are straight and squares are perfect.
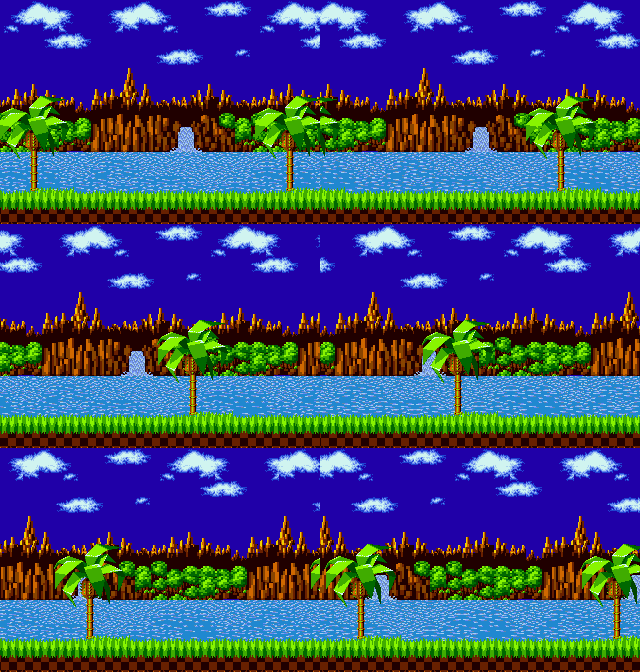
The Scroll Test (Very Important) The Scroll Test in the 240p Test Suite is one of the best ways to check and adjust geometry.
- It scrolls a grid or pattern horizontally and vertically.
- Look for smooth movement with no wobbling, stretching, or bending.
- Adjust size, position, and pincushion until the scrolling is perfectly smooth and lines stay straight.
Step 2: Brightness, Contrast & Black Levels
- Brightness → Set so the darkest bars in the test suite are barely visible (true black without crushing shadow detail)
- Contrast → Set high but without blowing out bright areas
The 240p Test Suite’s “Brightness” and “Contrast” patterns are excellent for this.
Step 3: Color Calibration
- Color / Saturation – Make colors vibrant but natural
- Tint / Hue – Fix any red/green bias
- White Balance – Ensure whites look neutral
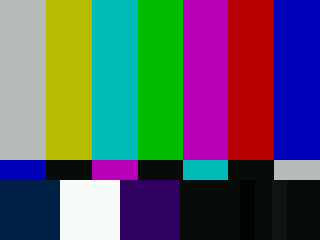
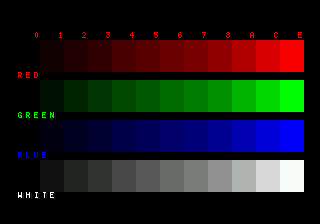
Use the 240p Test Suite’s color bars and SMPTE pattern for accurate results.
Step 4: Sharpness & Dithering
Many retro games use dithering (checkerboard patterns) to simulate more colors.
- Too much sharpness makes dithering look ugly and noisy
- Proper calibration makes dithering blend nicely at normal viewing distance
Tip: Use the 240p Test Suite’s “Sharpness” and “Dithering” patterns.

Step 5: Service Menu Adjustments (Advanced)
Warning: Only enter the service menu if you’re comfortable – wrong changes can potentially damage the TV (less of a risk on PVM’s and BVM’s).
Useful settings:
- G2 / Screen → Controls overall black level
- Cutoff / Bias → Individual RGB black levels
- Drive / Gain → RGB white balance
- Focus → Beam sharpness
Use the 240p Test Suite while in the service menu for precise adjustments.
Step 6: Physical Adjustments (When Necessary)
Some issues require opening the TV:
- Purity → Color patches in corners
- Convergence → Red/Green/Blue beams not aligning
- Static & Dynamic Convergence → Center and corner alignment
- Yoke adjustment → If there is a tilt in the blackspace
This is advanced work – many people pay professionals or buy pre-calibrated sets.
Recommended Calibration Workflow
- Warm up the CRT for 30–60 minutes
- Run the 240p Test Suite
- Fix geometry first
- Adjust brightness & contrast
- Fine-tune colors and sharpness
- Use service menu only if needed
- Re-check everything with real games
Final Tips for 2026
- Calibrate in the lighting you normally play in
- Take photos or notes of your settings
- Re-calibrate every 3–6 months (CRTs drift over time)
- Don’t chase absolute perfection – “great” is more than good enough for fun
A well-calibrated CRT is pure retro magic. Once you dial it in using the 240p Test Suite and the methods above, you’ll never want to play on anything else.
So now that you know how to Calibrate a CRT, if you don’t have one yet check out our comparisons here
